Tile and Ceramic Leveler

Tiling Supplies

Tile and Ceramic Leveler

عددی

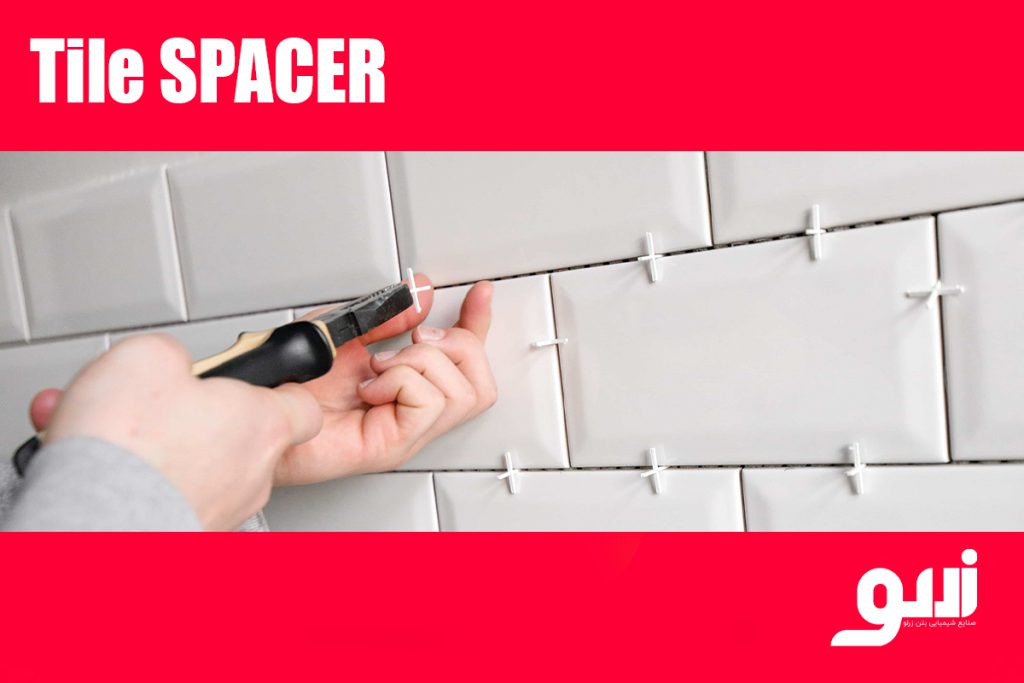
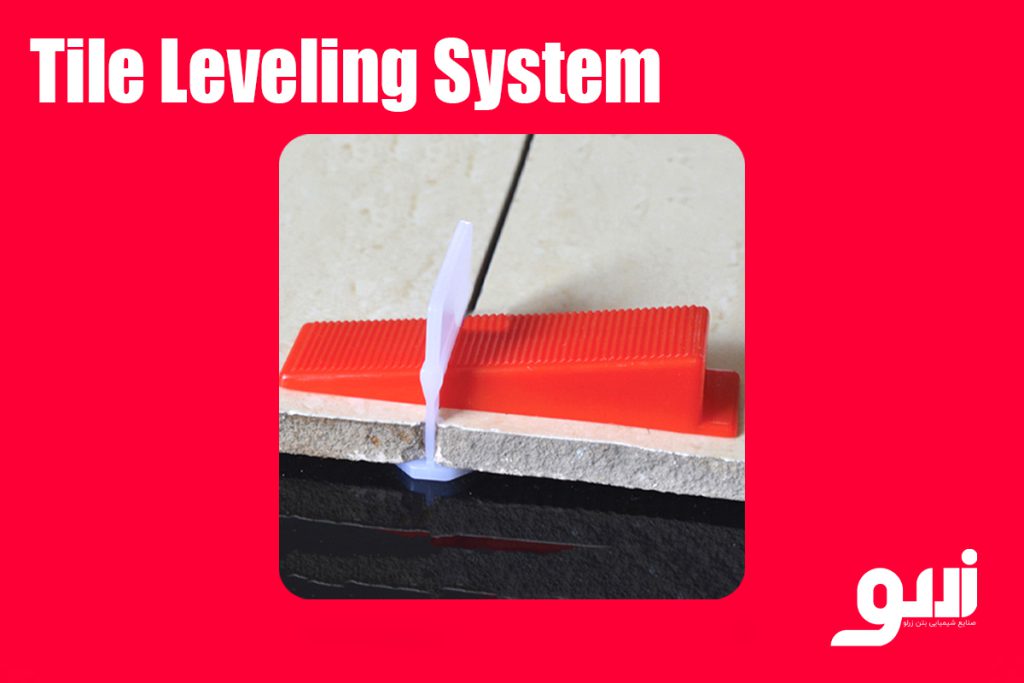
The tile and ceramic leveling system is an effective tool for precise installation and leveling of tiles.

It consists of clips and wedges that, when placed between tiles, prevent movement or slipping and ensure a smooth, even surface.

Sharing:

Tile and Ceramic Leveler

Features:

  • Prevents tiles from slipping.
  • Creates a smooth and even surface.
  • Reduces installation time and increases precision.

Instructions for Use:

  1. Spread the tile adhesive evenly over the desired surface.
  2. Place the tiles in position and insert the leveling clips between them.
  3. Use the wedges to press the tiles together until you achieve a level surface with no uneven edges.
  4. Once the adhesive has dried, gently remove the clips with a light tap.

Consumption Rate:

The required number of clips and wedges per square meter depends on the size and thickness of the tiles.

Physical and Chemical Specifications – Tile and Ceramic Leveler

Physical Specifications:

  • Material (Clips & Wedges): Typically made from polypropylene (PP) or industrial nylon (PA) with high mechanical durability.
  • Structure: The clip has a flat base that sits between two tiles, with a vertical section protruding through the joint. The wedge is inserted diagonally through this section.
  • High Compressive Strength: The wedge design ensures equal pressure on both tiles when compressed with pliers, keeping them level.
  • Break Mechanism: Clips are engineered with a designated break point so they can easily snap off after the adhesive has set.
  • Lightweight & Easy to Install: Suitable for manual installation; wedges are reusable.
  • Impact and Deformation Resistance: Strong against bending, brittleness, and impacts during use.

Chemical Specifications:

  • Moisture and Chemical Resistance: Unaffected by tile adhesive, cement, and alkaline cleaners commonly used on construction sites.
  • Heat Resistance: Stable under moderate heat (≈70–90 °C) that may occur during mortar curing or in hot environments.
  • Non-corrosive & Non-toxic: Inert toward tiles, adhesives, or substrates.
  • UV Stability: Available in high-grade variants for outdoor use to resist sunlight degradation.
  • Recyclability: Fully recyclable, though not biodegradable without industrial processing.

How to Use the Tile and Ceramic Leveler

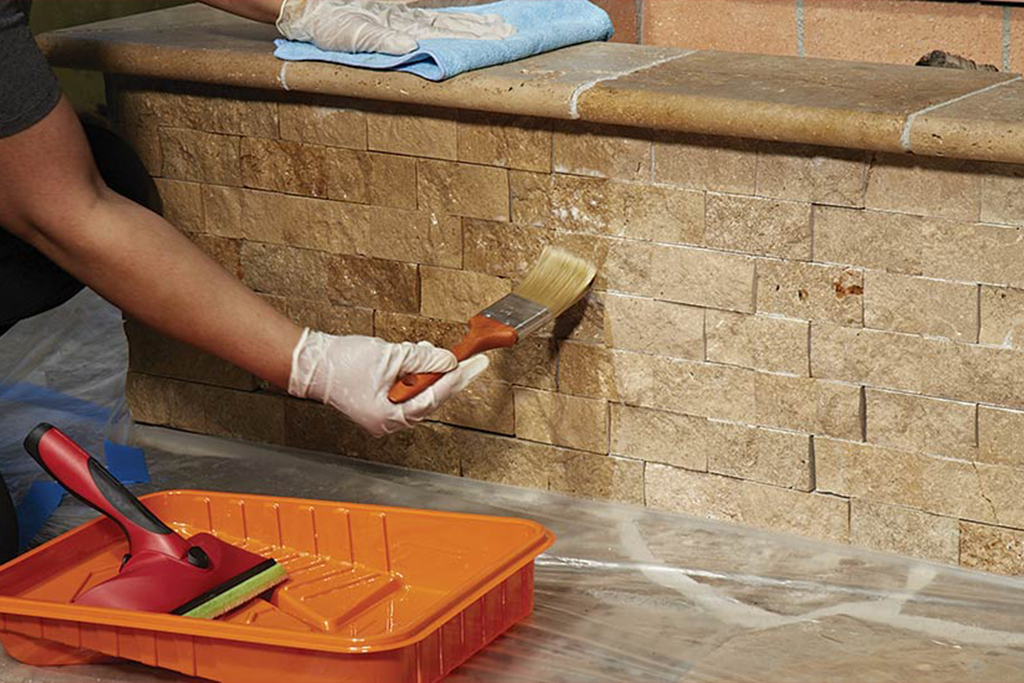
  1. Surface and Mortar Preparation

    • Level and clean the floor or wall surface where tiling will be done.
    • Evenly spread the mortar (tile adhesive or traditional mortar) over the surface.
  2. Installing the First Tile

    • Place the first tile onto the mortar and check its level.
  3. Placing the Leveler Base (Clip)

    • Position the leveler base under the tile edges at the junction between two tiles, ensuring the protruding tab extends above the surface.
    • Depending on tile dimensions, use one or two bases per side.
  4. Adding the Next Tile and Wedge

    • Place the next tile beside the first so the leveler base remains between them.
    • Insert the wedge through the protruding tab of the base and press it—either by hand or with a special leveling plier—until both tiles are perfectly even.
  5. Repeat Across the Surface

    • Continue this process for all tiles, ensuring bases and wedges are in every joint as needed.
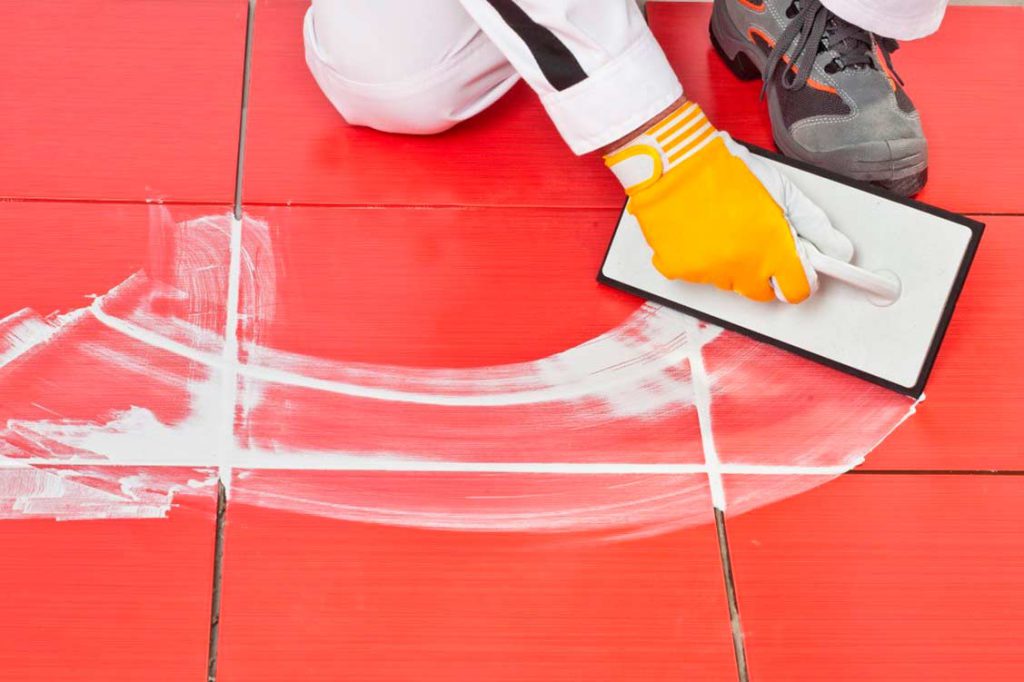
  6. Mortar Curing and Removing the Leveling System

    • After the mortar has cured (usually 12–24 hours), lightly tap the wedges sideways with a rubber mallet or foot to break them off.
    • Bases will snap at the designed break line, with the lower part remaining under the tile.