عددی
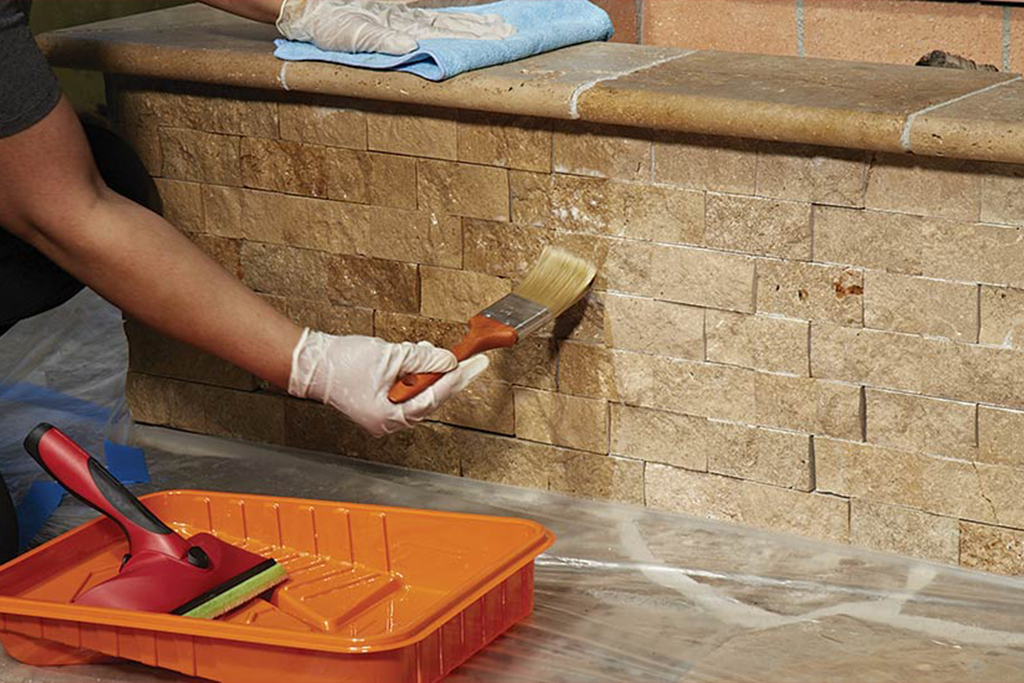
1. Surface Preparation: The substrate must be completely dry, clean, and free from dust, oil, grease, rust, or any adhesive residue. For better adhesion, a polyurethane primer may be required on porous surfaces (such as concrete).
2. Backer Rod Placement (if needed): If the joint depth is significant, use foam or backer rod to set the proper depth and reduce sealant consumption.
3. Cartridge Nozzle Cutting: Cut the nozzle to the desired size according to the joint width. Insert the sealant cartridge into a caulking gun (silicone or metal type).
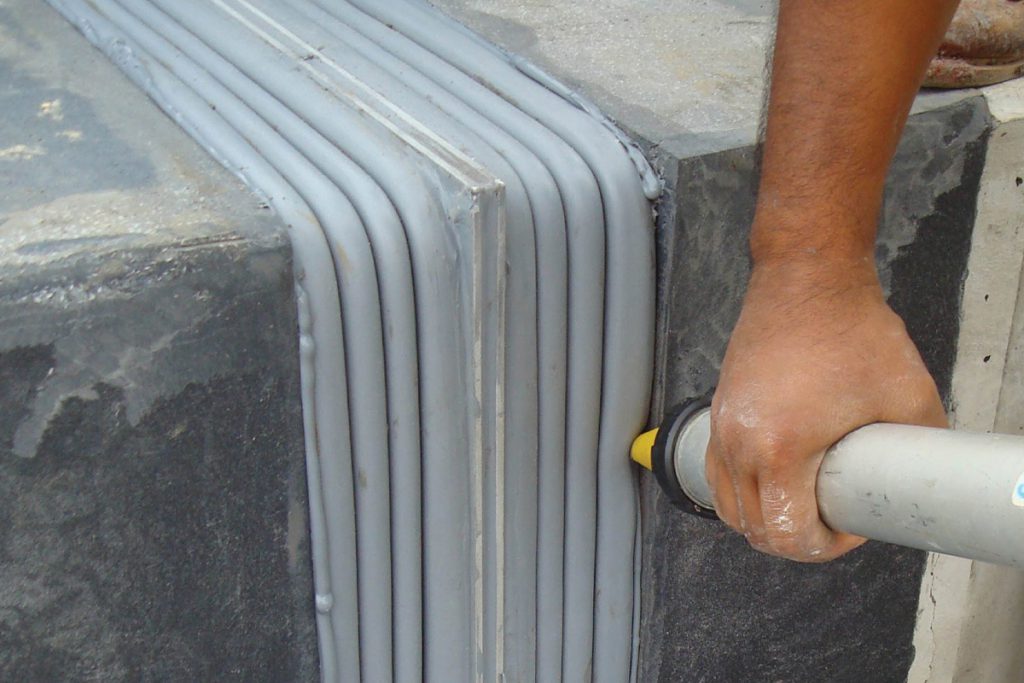
4. Sealant Injection: Inject the sealant evenly and continuously into the joint. For vertical surfaces, apply from bottom to top; for horizontal surfaces, apply in one direction.
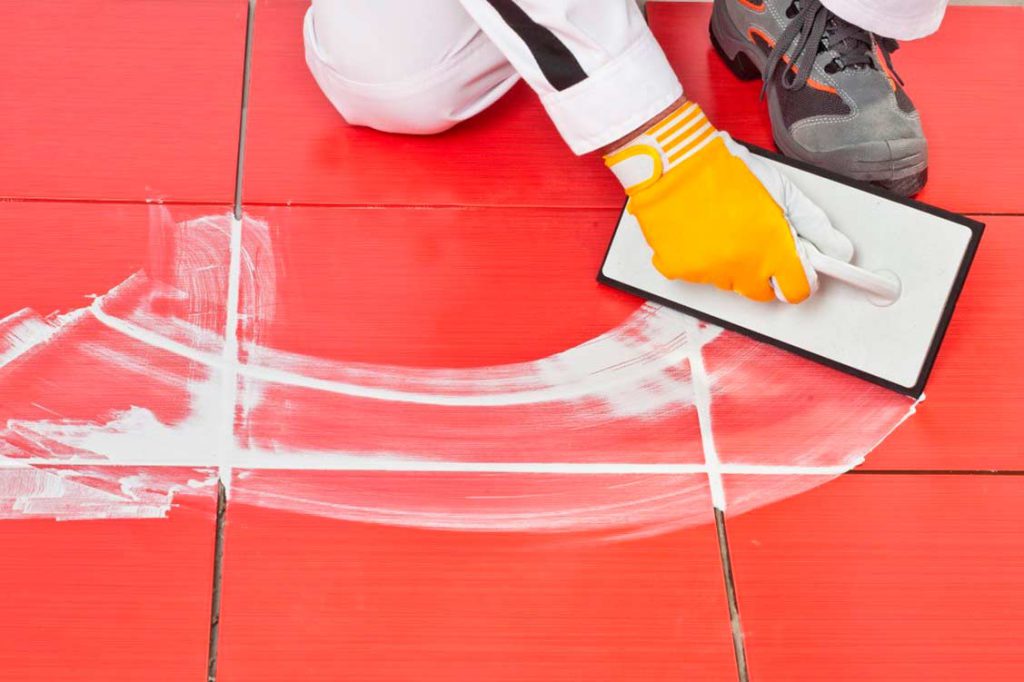
5. Tooling and Finishing: Immediately after injection, smooth the joint surface using a spatula, a soap-water-moistened finger, or a specialized tooling tool. This step must be completed before skin formation begins.
6. Curing and Drying: Polyurethane sealant typically surface-dries within 24 hours. Full curing may take up to 7 days depending on temperature and joint depth. Avoid direct water contact or mechanical pressure during this period.