عددی
Not using bolts and anchors in a concrete formwork system to resist the lateral pressures of concrete is unavoidable and essential.
If the formwork structure is not stabilized by passing bolts through it and securing them with washers, nuts, and back anchors, it will face the hydrostatic pressure of the concrete during pouring, resulting in the disintegration of the formwork and damage to the concrete and the reinforced concrete structure.
Spring Water‑Stop Tie Rod
One type of water‑stop tie rod is the spring water‑stop tie rod, which consists of:
The tie rod is removed from the formwork and fixed using a nut, washer, and anchors.
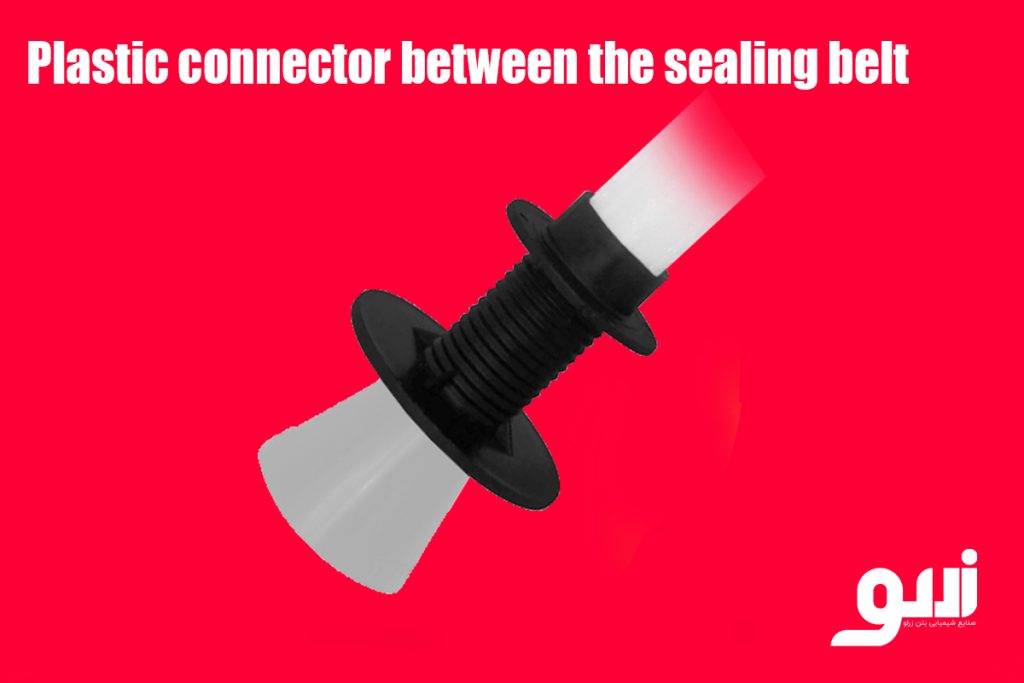
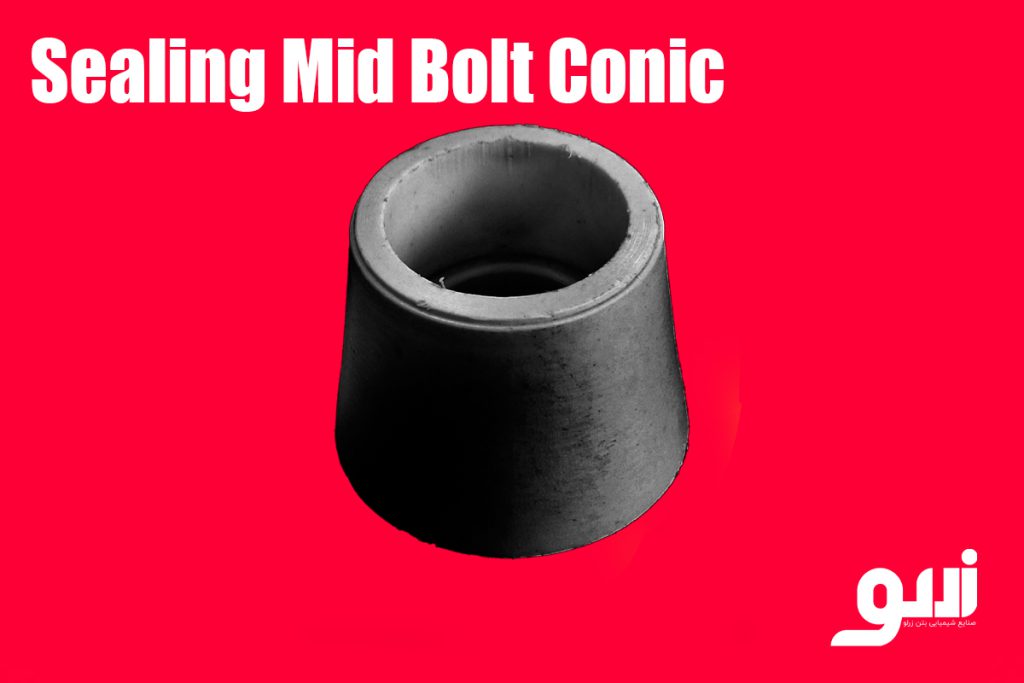
To prevent the spring tie rod from contacting the formwork surface — due to its metallic nature — a plastic conical piece for the spring tie rod must be used.
This part is 3 cm long and designed and manufactured to standard dimensions, creating a gap between the spring tie rod and the formwork surface.
This prevents corrosion from being transferred into the reinforcement network inside the concrete.
The plastic piece is made from high‑density polyethylene.
Applications and Features of the Spring Tie Rod Cone:
Overall, this product is a plastic component used in concrete formwork to provide water‑proofing and corrosion prevention
Physical and Chemical Specifications of the Spring Tie Rod Cone
🔩 Physical Specifications:
🧪 Chemical Specifications:
Steps for Using the Spring Tie Rod Cone
Required parts:
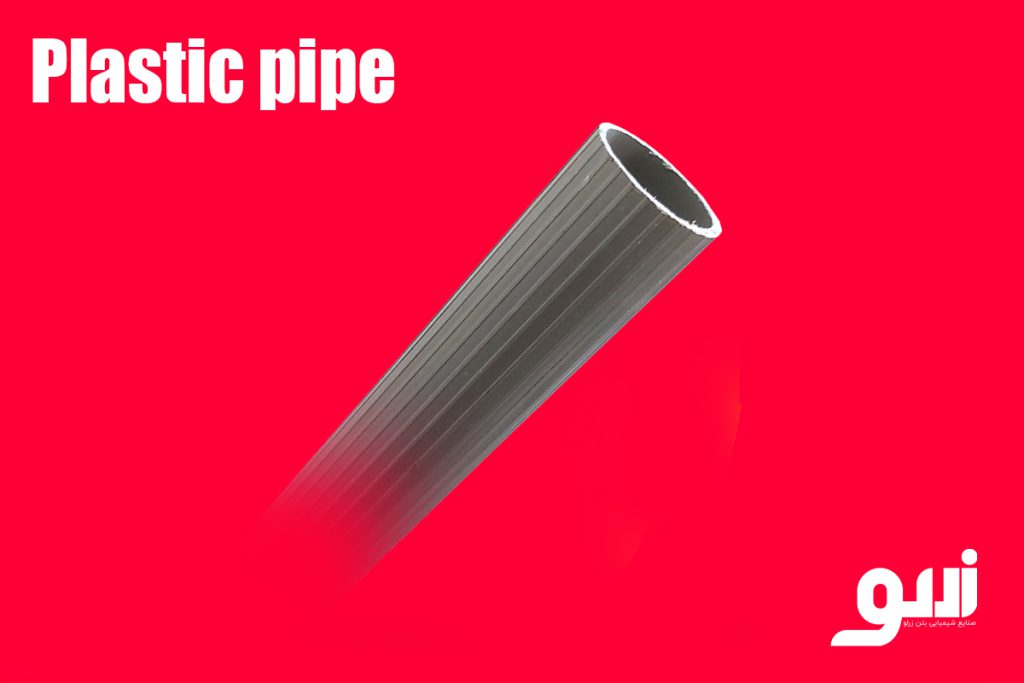
First, place the two spring cones on both ends of the ribbed plastic pipe.
The design of the spring cone allows it to be inserted and locked inside the pipe by hand pressure (without adhesive or tools).
Now place the whole assembly (pipe + two spring cones) between the two formwork panels.
Pass the hook bolt through the formwork hole and insert it through the pipe.
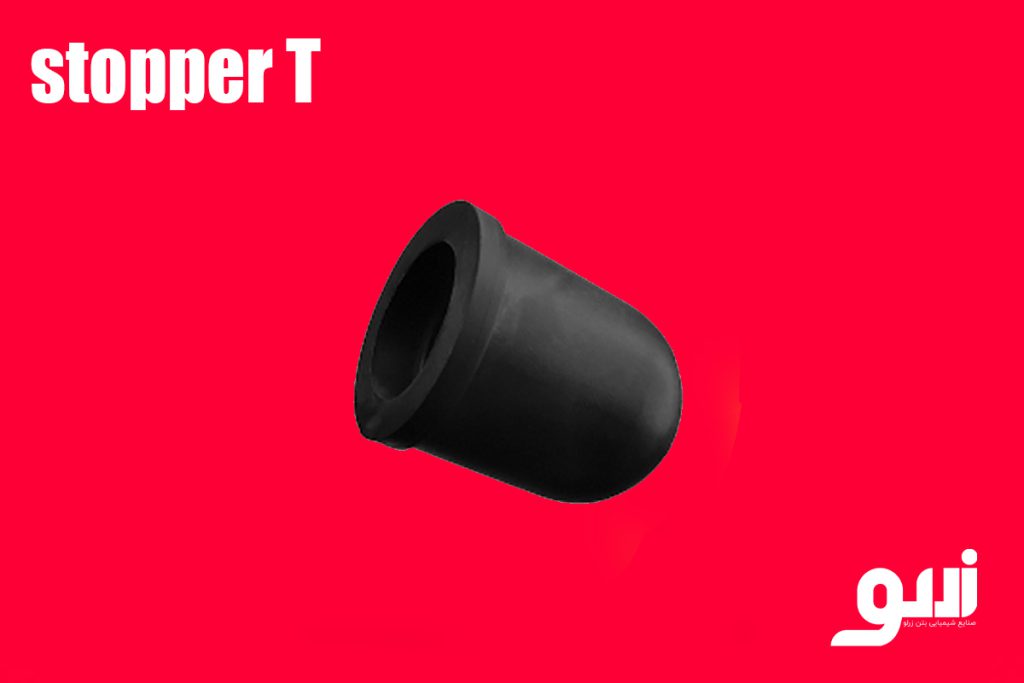
Due to the spring action of the cone, it locks in place and prevents concrete from leaking through the formwork holes.
Tighten the washer and nut on both sides of the bolt to create pressure between the panels.
This ensures the complete fixation of the formwork and prevents opening during pouring.
Carry out the concrete pouring. The spring cones prevent leakage from both ends of the pipe, producing a clean and precise wall edge.
After the concrete sets and the formwork is removed, take out the hook bolt and nuts.
The two spring cones left inside the wall are usually easy to remove with a hammer or screwdriver, and the holes can be sealed with repair mortar